This is where the story actually gets told, one page at a time. The rhythm is simple: write the words, make the picture, move on.
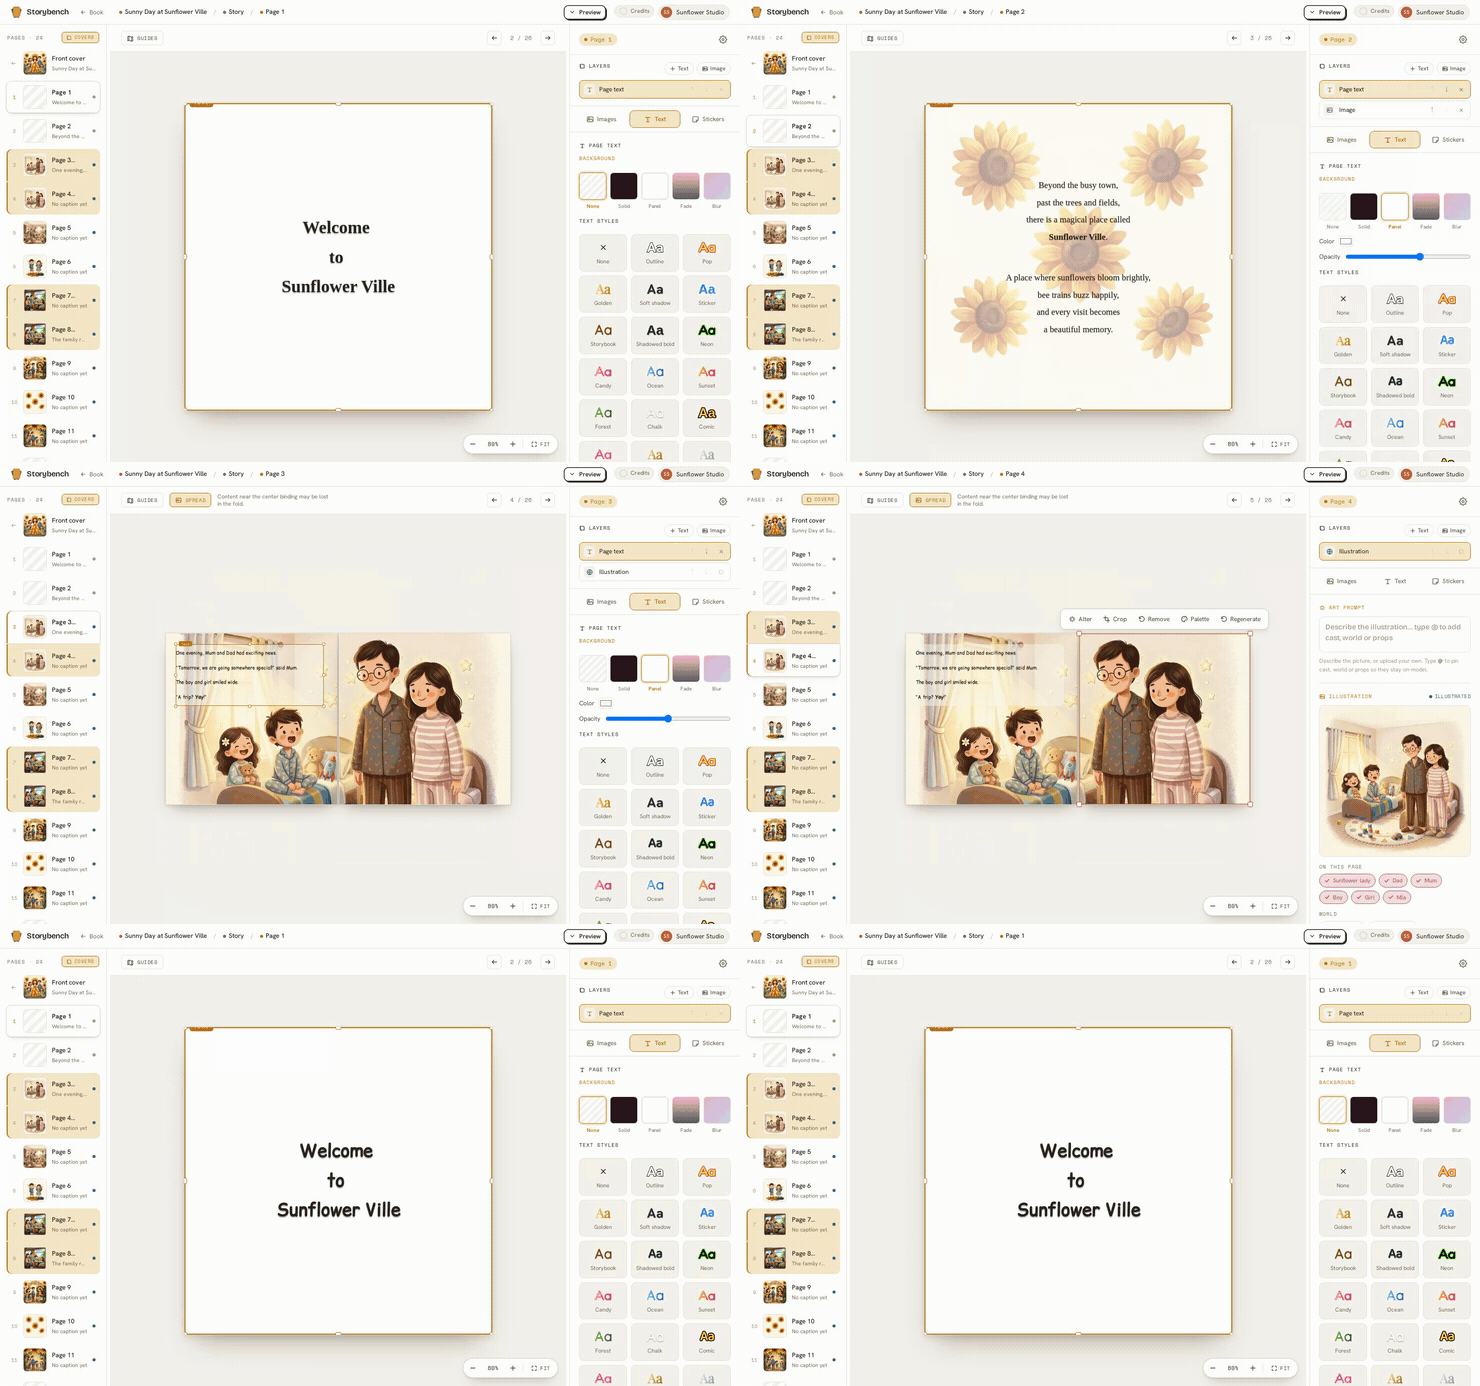
Writing your words
Each page holds your text. You can write it as rich text (with the styling you want readers to see) and it also carries a plain caption version underneath, which is the simple, unstyled wording. You just type your story. Both are kept for you.
Illustrating the page
When the words are ready, press Illustrate page. Storybench reads your page, pulls in the right characters, setting, props, tone, and style through the World, and makes the picture. You do not type any style words, and you do not re-describe your cast. It just arrives, looking like itself.
Re-illustrate as often as you like
If the first picture is not quite right, illustrate again. You are free to re-illustrate a page as many times as you want until it feels right. Each new illustration is a fresh take on the same page.
The art-instruction field
Sometimes the picture you want is not exactly the words on the page. Maybe the text says "and they all went home," but you want the picture to show the moment just before, at the garden gate. For this, each page has a separate art instruction field where you can describe the picture directly. If you leave it empty, the illustration simply uses your page text. So you only reach for it when you want the art to differ from the words.
Leaving space for text
If you want your words printed over the artwork, you can turn on leave space for text when illustrating. This nudges the picture to keep an area calmer and less busy, so your text stays easy to read on top of it. It is a small option with a big payoff for pages where words and art share the same space.
When an illustration is refused
If a page needs a character with no reference picture, it is refused before you are charged, with a clear note about adding references. This is the safeguard from how consistency works. The full list of reasons lives in why an illustration was refused.